Background
Stripe Checkout and Google Analytics (GA4) are powerful and commonly used tools in e-commerce websites. Stripe Checkout allows you to collect payments with minimal code and a prebuilt UI, while GA helps analyze user behavior to improve sales.
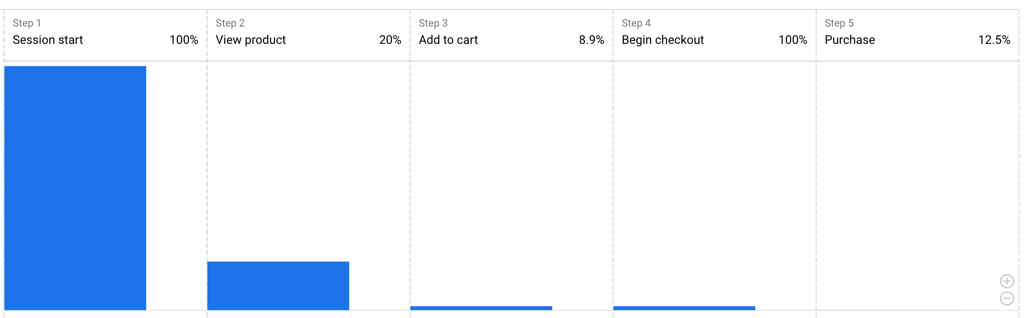
Issue: 0 purchase events in GA funnel
However, I recently encountered a significant issue where GA’s purchase journey dashboard couldn’t properly plot the purchase funnel analysis when using Stripe Checkout. The number of events always dropped to 0 after the “begin checkout” step. Interestingly, the “Ecommerce Purchases” dashboard showed that the number of purchase events wasn’t actually 0. So, there must be something wrong with the purchase journey funnel.
GA Sessions, Stripe Checkout and third party domains
In Google Analytics 4, events are attributed to different sessions. Users receive a unique ID cookie when they land on a GA-enabled site, and events fired under the same ID count towards the same session. A new session is created either when a new ID is received or when a time limit has passed since the last event from a particular ID.
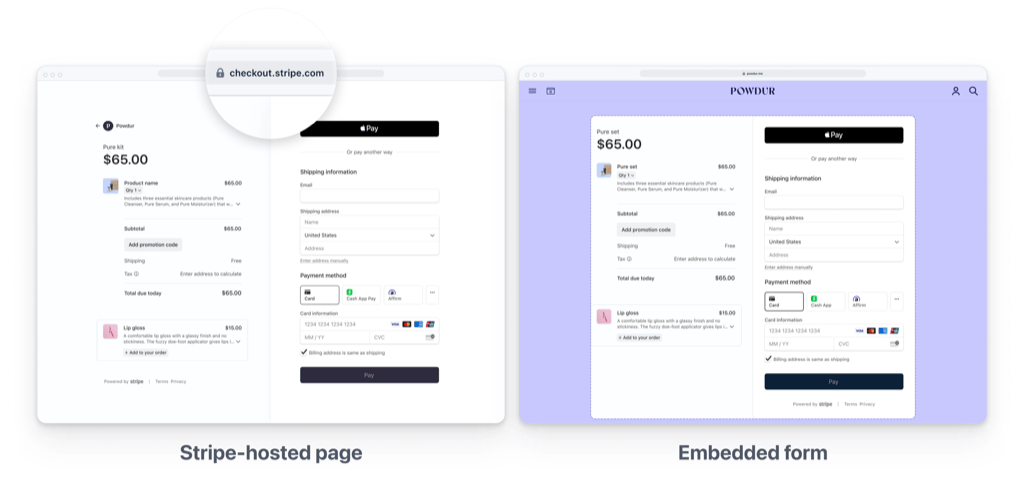
To understand the issue with the purchase journey funnel, we need to consider the nature of Stripe Checkout. In Stripe checkout, there is an additional redirect step after the checkout begins. By default, Stripe checkout is a hosted page under the domain checkout.stripe.com. Only after users complete or cancel the checkout process are they redirected back to the original site. This redirect process seems to change the session ID, which breaks the purchase journey funnel.
Why does the session ID change after redirection? One possible reason is the third-party cookie constraints imposed by modern browsers. Browsers now alter cookie behaviors for third-party domains to protect user privacy, such as limiting their lifetime or adding extra per-origin isolations. Since GA cookies are sent under the domain analytics.google.com and not under the user’s application domain, they are affected by these restrictions. The redirection to and from the Stripe Checkout page likely resets the GA cookie, creating a new session ID. As a result, GA thinks the final purchase step of the purchase journey funnel occurs under a different user session, leading to the correct event count but a broken funnel.
Fixing session with cross-domain measurement
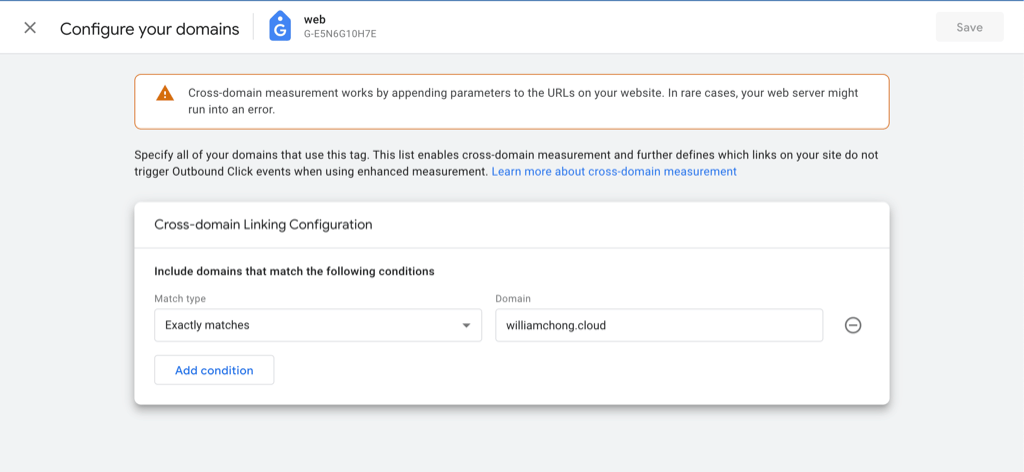
To mitigate this issue and attribute the event to the correct session (thus fixing the purchase journey funnel), we need to inform GA explicitly that users redirected back from the Stripe Checkout page already have an existing session ID. GA4 actually has an automated solution for this issue called “cross-domain measurement.” It automatically adds a query string _gl when a user clicks on a URL under any domain that you also own. This _gl query string is a unique linker ID that allows the gtag script in the receiving domain to identify existing users and sessions without relying on the presence of the same cookie ID.
You can learn more about how cross-domain measurement works and configure a list of domains you own under “Configure your domains” in your “Google tag data stream settings.”
Learn more about cross-domain measurement
However, this automated solution does not work in the case of Stripe Checkout. We don’t own or control the gtag script under checkout.stripe.com, so it won’t utilize the _gl query string we send or send back the user with the proper _gl query string when they are redirected back to our own site.
Making cross-domain measurement work manually
Nevertheless, by understanding how to mitigate cross-domain issues, we can implement a manual link for session IDs.
Before sending the user to the Stripe Checkout page, collect the GA client ID and session ID using the gtag query. The following code snippet is an example under a Nuxt.js app, using the Vue.$gtag syntax:
  Vue.$gtag.query('get', process.env.GA_TRACKING_ID, 'client_id', id => {
    store.dispatch('setGaClientId', id);
  });
  Vue.$gtag.query('get', process.env.GA_TRACKING_ID, 'session_id', id => {
    store.dispatch('setGaSessionId', id);
  });
When creating the Stripe Checkout session, include the ga_client_id and ga_session_id respectively in the success_url and cancel_url:
const checkoutPayload: Stripe.Checkout.SessionCreateParams = {
  mode: 'payment',
  success_url: `${successUrl}?ga_client_id=${gaClientId}&ga_session_id=${gaSessionId}`,
  cancel_url: `${cancelUrl}?ga_client_id=${gaClientId}&ga_session_id=${gaSessionId}`,
  ...
}
When initializing GA/gtag on our own site, check for the query string parameters ga_client_id and ga_session_id. If these values exist, we can assume that the user was redirected from the checkout flow and restore their client_id and session_id accordingly:
if (query.ga_client_id && query.ga_session_id) {
  Vue.$gtag.config({
    client_id: query.ga_client_id,
    session_id: query.ga_session_id,
  });
}
This fixes the issue of lost sessions and restores the normal functioning of the purchase journey funnel.
Another solution: Server side event recording
The server-side event recording solution is mentioned in the Stripe official documentation. It allows you to fire events directly from the server side. This approach involves sending the client ID of the checkout user to the Stripe Checkout session, which is then stored in the checkout metadata. Once the payment is successfully completed, the server can directly fire the purchase event with the corresponding IDs set.
While this solution can help in correctly logging a purchase event, it’s important to note that the session ID is not explicitly mentioned in the official guide. Therefore, it’s unclear whether this approach will work seamlessly with the purchase journey funnel.
 if (event.type === "checkout.session.completed") {
    // Record metrics using the Google Analytics Measurement Protocol
    // See https://developers.google.com/analytics/devguides/collection/protocol/v1/devguide
    const params = new URLSearchParams({
      v: "1", // Version
      tid: <GOOGLE_ANALYTICS_CLIENT_ID>, // Tracking ID / Property ID.
      cid: event.data.object.metadata.analyticsClientId, // Client ID
      t: "event", // Event hit type
      ec: "ecommerce", // Event Category
      ea: "purchase", // Event Action
    });

    request(`https://www.google-analytics.com/batch?${params.toString()}`, {
      method: "POST",
    });
  }
For more detailed information and implementation instructions, you can refer to the official guide on server-side event recording provided by Stripe.
Extra config to make analytics data cleaner
Another issue related to GA4 and Stripe Checkout is that users redirected back from the Checkout page are counted as referral traffic by default in GA. This happens because returning users are misidentified as new sessions, leading to an increase in referral traffic. To mitigate this issue, you can exclude checkout.stripe.com as a referral source.

Follow this guide from Google to set up “unwanted referrals” in your Google tag data stream settings:
By implementing these additional configurations, you can ensure cleaner analytics data and improve the accuracy of your funnel analysis.
]]>


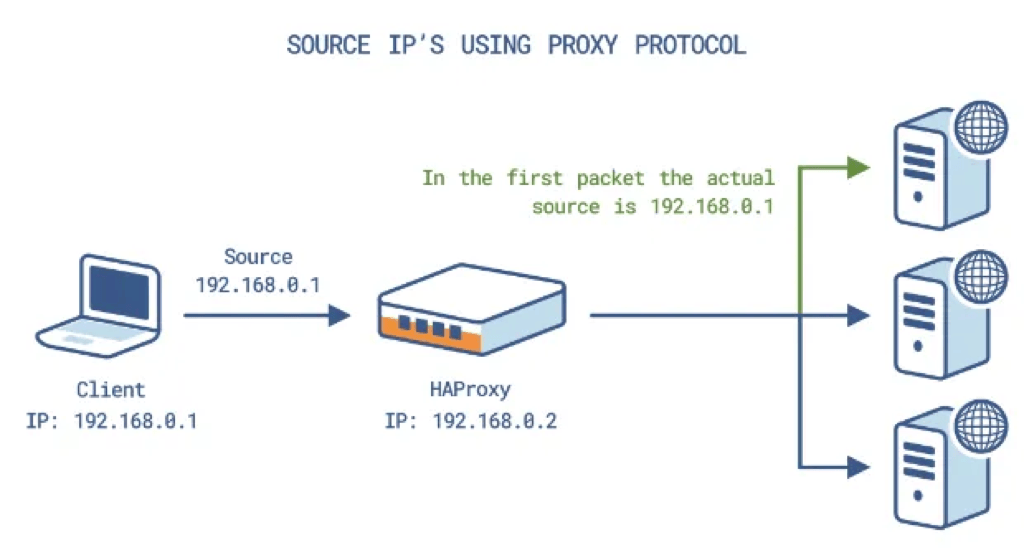 uses HAProxy + PROXY protocol as a transparent proxy.
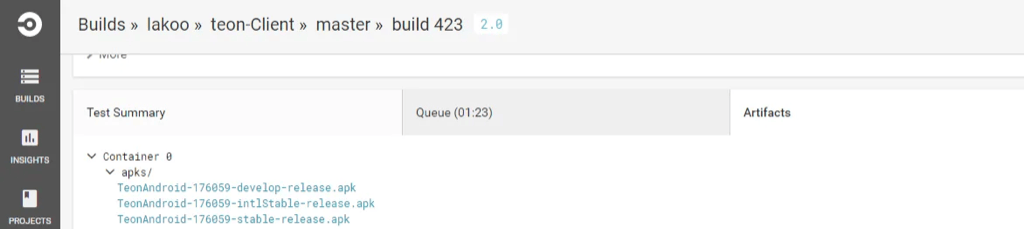 成功嘅話 apk 就會係 artifacts 出現
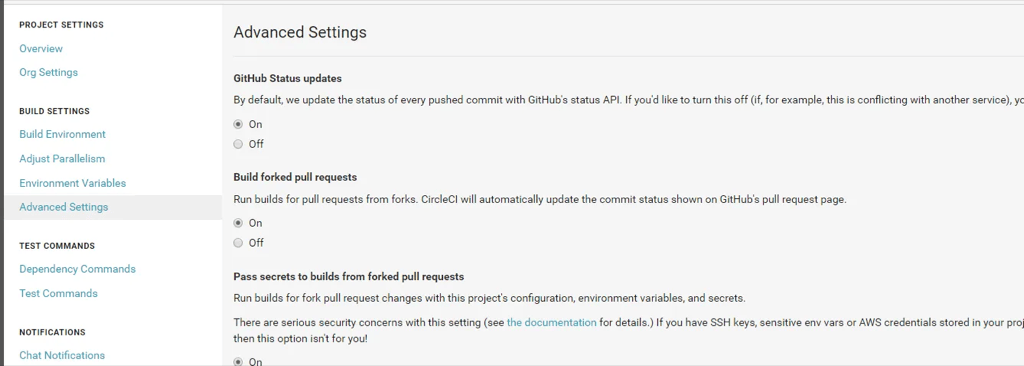 private repo 嘅 Build forked pull requests 要手動開啟
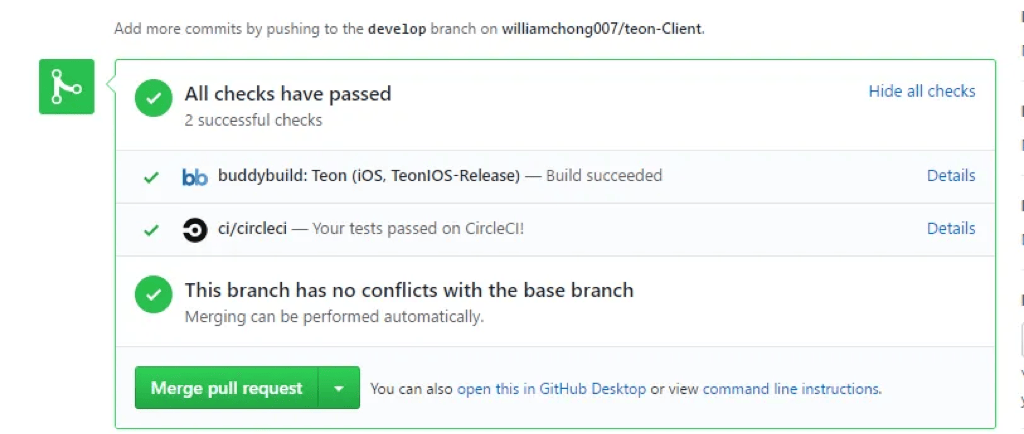 成功就會出綠剔